
DTF (Direct-to-Film) Gang Sheet printing is a highly efficient and cost-effective method for printing multiple designs at once. A “gang sheet” is simply a large, single sheet of transfer film where multiple designs are arranged together to maximize space.
Here is a clear, step-by-step breakdown of the process:
1. Design and Layout (The “Ganging” Process)
This is the most crucial step, where you, the customer, prepare your artwork for printing.
- Gather Your Designs: Collect all the individual logos, images, or designs you want to print. It’s essential that these are high-resolution files (300 DPI or higher) and have a transparent background, typically in a PNG format. Make sure each of your designs are correct sizes. We are not responsible for receiving incorrect Art Work.
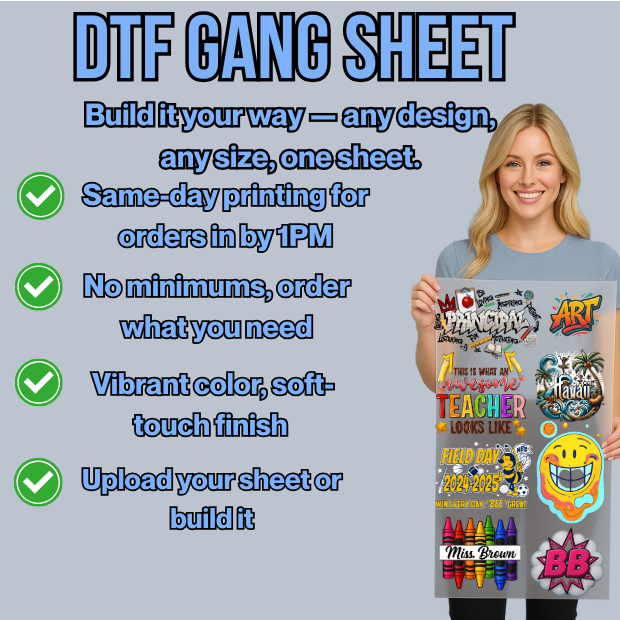
- Create the Gang Sheet: Using graphic design software like Adobe Photoshop, Illustrator, or a dedicated online tool from your printer, you will arrange all your individual designs onto a single digital canvas. We must receive Print Ready 23″ wide x 36″ long artwork in PNG format.
- Optimize the Layout: The goal is to fit as many designs as possible without overlapping. This is called “nesting.” You should leave a small gap (around 0.25 inches) between each design to make cutting easy later on. This maximizes the use of the film and saves you money.
2. Printing
Once your gang sheet is finalized, the printing Ninjas takes over.
- Digital Printing: The Ninja DTF printer prints your entire gang sheet layout onto a special PET (polyethylene terephthalate) transfer film. Unlike traditional printers, it prints a full-color image first, followed by a layer of white ink on top. This white layer acts as the base that will be visible on the garment.
- Adhesive Powder Application: Immediately after the ink is printed, a special adhesive powder is applied evenly over the wet ink. This is often done by a “powder shaker” machine that covers the entire sheet. The powder only sticks to the wet ink.
- Curing: The sheet, with the powder stuck to the ink, is then cured. This can be done in a special DTF curing oven or with a heat press. This process melts the powder into a smooth, even adhesive layer on the back of the design, making it ready for transfer.
3. Cutting and Transferring
After the printing and curing process is complete, the gang sheet is ready for use.
- Cutting: You will cut out each individual design from the gang sheet using scissors or a rotary cutter. The spacing you left during the layout phase makes this much easier.
- Heat Pressing: To apply the design, you’ll place the cut-out transfer onto your garment. Using a commercial heat press, you apply heat and pressure for a specific amount of time 260-300 degrees (usually 10-15 seconds).
- Peeling: Once the garment and transfer have cooled slightly (this can vary by product and is often called a “cold peel”), you carefully peel away the film, leaving the design adhered to the fabric.
- Final Press: A final “post-press” is often done for a few seconds (2-3 Seconds) to ensure the design is fully bonded and to improve its durability and feel.
DTF Gang Sheet process is an efficient workflow that takes multiple designs, groups them together for a single print run, and provides you with a collection of ready-to-press transfers. This method saves significant time and money compared to printing each design individually.