A DTF gang sheet lets you print a whole collection of designs in one go: logos, full-front graphics, sleeve hits and tags, all on a single sheet of transfer film. Set it up well and you get more prints for your money, plus clean, ready-to-press transfers. Set it up poorly and you can end up with blurry artwork, white boxes around your designs or prints that come out the wrong size.
This guide walks through exactly how to prepare a print-ready DTF gang sheet for Ninja Stitch, from file requirements to layout tips and the mistakes to avoid.
What Is a DTF Gang Sheet?
A gang sheet is one large piece of DTF transfer film with many designs arranged, or “ganged,” together. At Ninja Stitch, gang sheets are 23 inches wide by 36 inches long. You can fill that space with one design repeated many times or with a mix of different designs and sizes. A mixed sheet is also an easy way to print your NFT art collection on shirts. After printing, you cut each transfer apart and heat press it onto your garments.
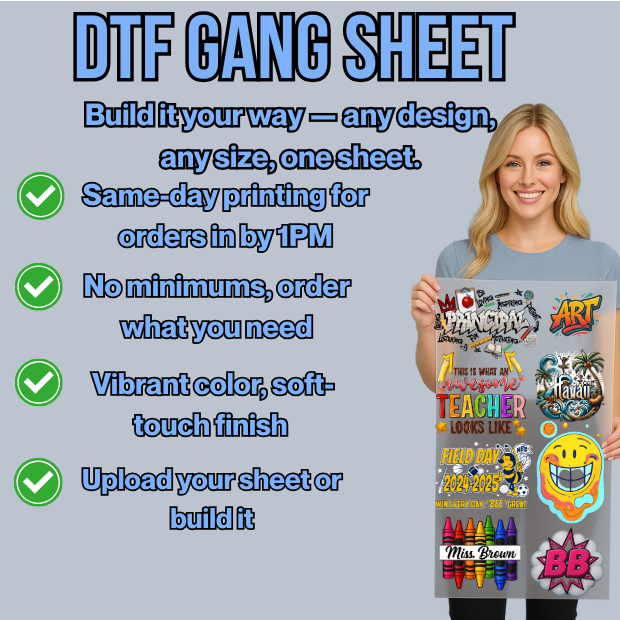
Because you’re paying for the sheet rather than for each individual design, packing the sheet efficiently is the easiest way to lower your cost per print.
Ninja Stitch Gang Sheet File Requirements
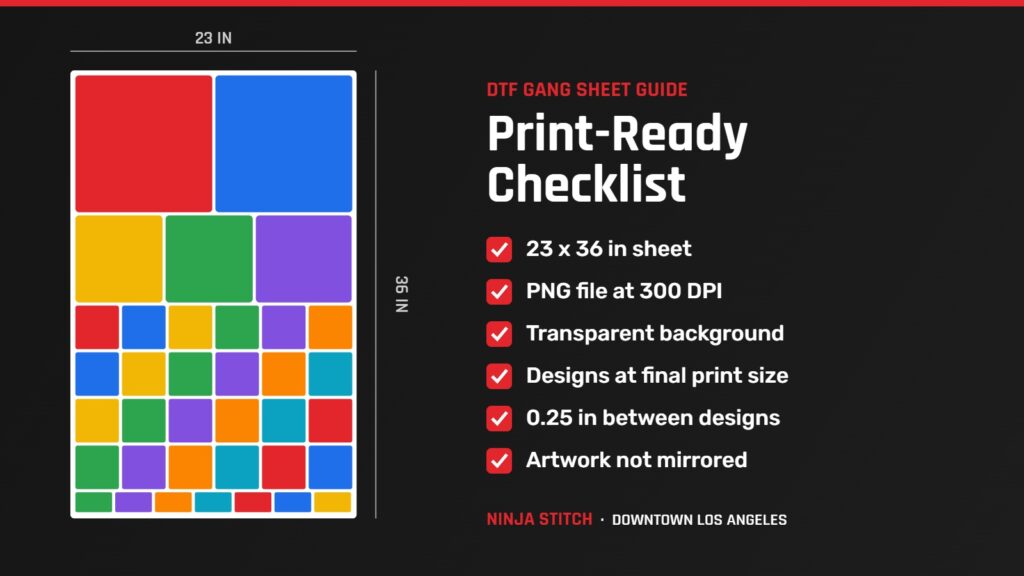
- Sheet size: 23″ wide x 36″ long, print-ready.
- File type: PNG.
- Resolution: 300 DPI or higher.
- Background: transparent, with no white box behind your designs.
- Design size: every design placed at the exact size you want it printed.
- Spacing: about 0.25″ between designs so they’re easy to cut apart.
Double-check your sizing before you send the file. Your sheet is printed exactly as submitted, so artwork that’s the wrong size can’t be fixed after printing.
How to Build Your Gang Sheet, Step by Step
- Gather your artwork. Collect high-resolution PNG files of every design. Images saved from websites or social media are usually too low-resolution to print sharply.
- Remove the backgrounds. Make sure each design sits on a transparent background. Anything that isn’t transparent, including white, will print.
- Size each design. Scale every design to its final print size before placing it on the sheet. The size guide below is a good starting point.
- Create your canvas. In Adobe Photoshop, Illustrator or another design tool, set up a 23″ x 36″ document at 300 DPI with a transparent background.
- Arrange and nest your designs. Place your largest designs first, then fill the gaps with smaller logos and tags. Rotate designs if it helps them fit, and keep about 0.25″ between each one.
- Check the details. Zoom in to look for stray pixels, soft or semi-transparent edges and text that’s too thin to hold up.
- Export and send. Save the sheet as a PNG at 300 DPI with transparency turned on, then upload it with your order.
Common DTF Print Sizes
Not sure how big to make each design? These common sizes are a good starting point for adult apparel:
- Left chest: about 3 to 4 inches wide.
- Full front or full back: about 10 to 12 inches wide.
- Youth front: about 7 to 9 inches wide.
- Sleeve: about 2.5 to 3.5 inches wide.
- Hat front: about 2 to 2.5 inches tall.
- Neck label: about 2 to 3 inches wide.
Always size for the garment you’re decorating. A design that looks great on an XL tee can look oversized on a youth shirt. Logos you plan to embroider need different prep, so here’s how logo digitizing for embroidery works.
How Many Designs Fit on One Sheet?
It depends on your design sizes, but here’s how the math works on a 23″ x 36″ sheet:
- Two 11-inch-wide full-front designs fit side by side across the 23-inch width.
- A 3.5-inch left-chest logo can repeat six times across one row, so a few rows add up to dozens of logos.
- Mixing sizes is the most efficient approach: big designs first, then smaller logos, sleeve prints and tags in the leftover space.
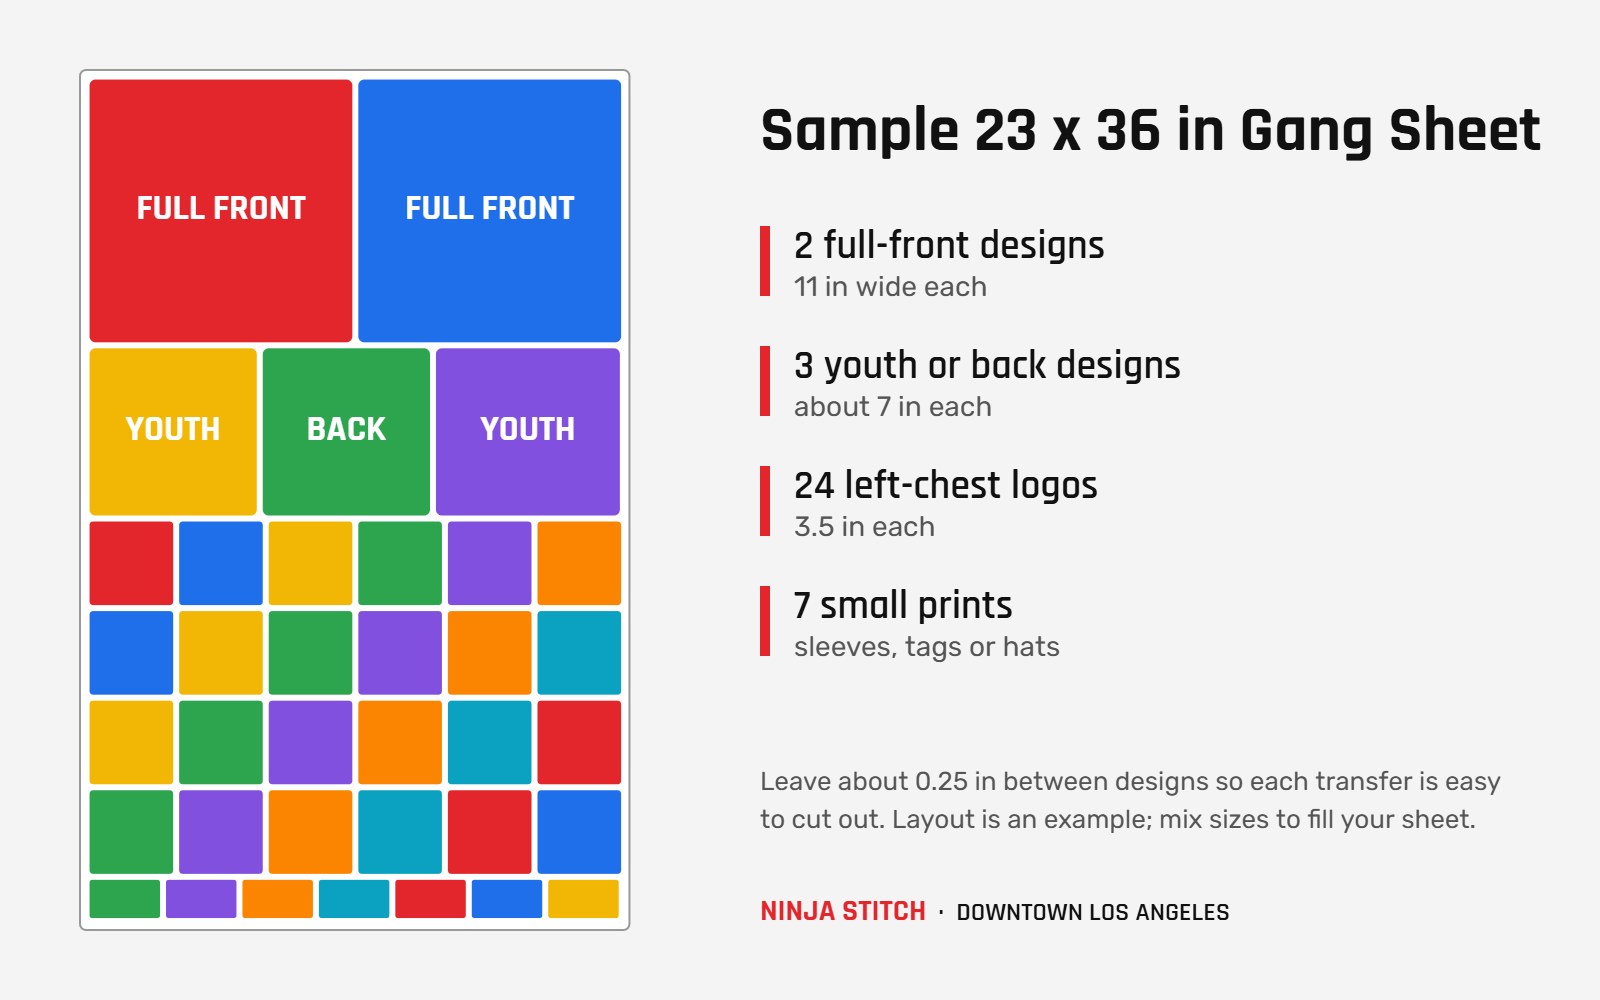
The sample layout above fits two full-front designs, three youth or back designs, 24 left-chest logos and a row of small prints on a single sheet.
Common Gang Sheet Mistakes to Avoid
- Low-resolution artwork: images that look fine on screen can print blurry or pixelated. Start with 300 DPI files at full size.
- Hidden backgrounds: a white or colored box around a logo will print exactly as it appears.
- Wrong sizes: designs print at the size they appear on your sheet, so measure carefully.
- Semi-transparent effects: soft shadows, glows and faded edges can print unevenly. Use solid colors or halftones instead.
- Text and lines that are too thin: very fine details may not transfer cleanly, so keep small text bold and readable.
- Mirrored artwork: submit your designs the way you want them to look on the garment. Don’t flip them.
- Wasted space: big empty areas on your sheet are prints you paid for but didn’t use.
After Printing: Cutting and Pressing
Once your sheet is printed, cut each design out with scissors or a rotary cutter, leaving a small margin around the edges. Then heat press each transfer onto your garment. Ninja Stitch recommends 260 to 300°F for 10 to 15 seconds, a cold peel and a quick 2 to 3 second post-press. For the full walkthrough, read how to apply DTF transfers.
DTF Gang Sheet FAQs
Can I put different designs on one gang sheet?
Yes. That’s the whole point of a gang sheet: you can mix logos, colors and sizes on the same sheet, as long as everything fits within 23 x 36 inches.
What if my design includes white?
White prints just fine with DTF, so white text or shapes in your design are no problem. Just make sure the background around your design is transparent rather than white.
Can Ninja Stitch arrange the sheet for me?
Yes. If you’d rather not build the layout yourself, upload your logos and the Ninja Stitch team can nest them onto a sheet for you, ready to press.
Need a Hand With Your Gang Sheet?
If you don’t have design software, or you’d rather leave the artwork to a pro, the Ninja Stitch graphic design team can help create or refine your designs. When your sheet is ready, order your DTF gang sheet. There are no minimums, and orders in by 1 PM can be printed the same day.
Still deciding on a print method? Compare DTF vs. DTG vs. screen printing to see which fits your project.
Related reading: